
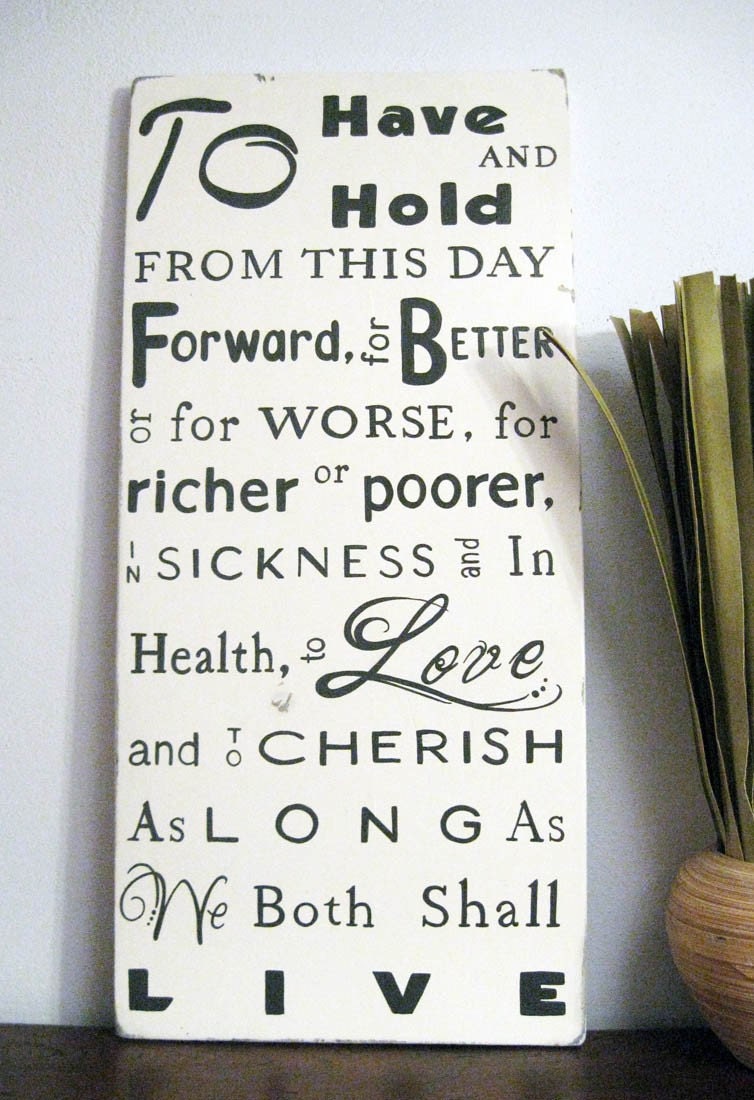
2.) paint the board white, a thin coat so that the grain of the wood shows through a bit. that gives it the antique look. solid white is cute too! which ever strikes your fancy :)
3.) after the base coat dries, add another coat of paint if necessary. always let paint dry between coats.
4.) find a lettering stencil that you like (at any craft store). or, a cheaper option, print out the words using your computer in whichever font you want. use transfer paper (found at the craft store. it has graphite on the back so that when you trace your letter there is an outline left behind. directions are on the package) to transfer your letters to the white board then use black (or whatever color) paint to fill in your stenciled letters.
----->another method when using a stencil is to use a sponge. place your letter stencil when you want it, tape or hold the stencil firmly down so that paint doesnt leak under the edge, and blot paint (make sure your sponge isnt too wet) until the letter is filled in.
------> you can always free hand the letters as well. i suggest drawing them lightly in pencil before painting them on.
5.) let dry!
6.) Display! show off your masterpiece! :)
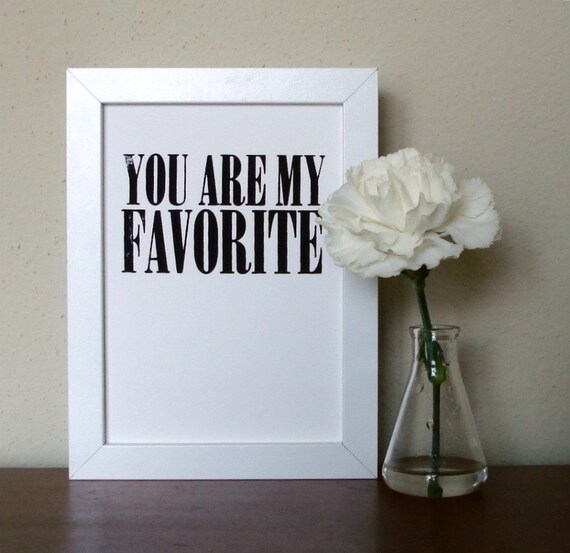
This is the other cute little frame i want to make, this one is simple as well, even simpler than the signs :)
1.) The Frame- buy a frame, whatever size you like.
Or, find an old frame you already have that needs a makeover:
To paint a frame: spray paint works best on metal frames and is the easiest to use on all frames.
make sure to take out the glass and the backing. If the backing is attached to the frame it might be better to hand paint it. :)
2.) The Wording- print the wording from your computer on to card-stock or picture paper. Picture paper will add a professional look to your art. Have fun with the wording, font, size and color!
Two great, fun and easy (and relatively cheap) ways to add a little art to your life :)
Becca thanks so much! We are making hand painted signs for the wedding too, so it was also nice to read you post about them!
ReplyDeleteI love the "You're my favorite" picture frame. That's what austin has said to me from the beginning of our relationship, so it's sweet to see that!
ReplyDelete